Published: August 21, 2013
Updated: October 5, 2017
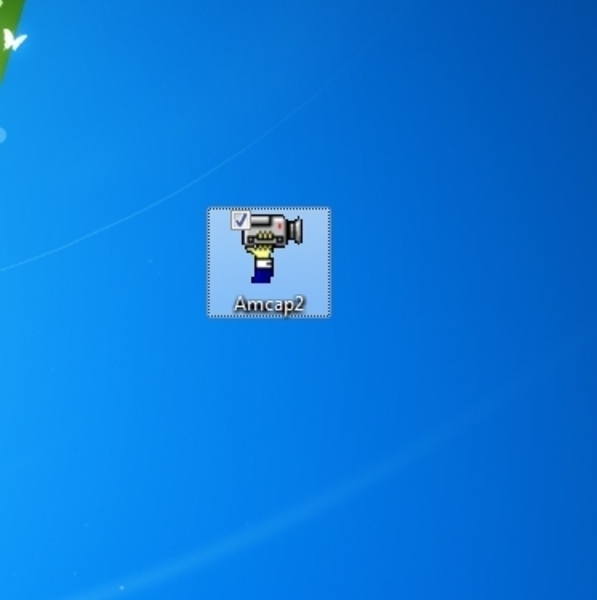
In this article we will be explaining on how to use the webcams for your T10 tablet. Make sure the video and chipset drivers are installed as without them the cameras will not work. The default program installed is Amcap but this is limited to video only and can't take still pictures. For this reason we will be using Amcap2 which can be found on your T10 driver disc under Camera, attached to this knowledge base article or can be downloaded from HERE. Amcap2 can be found under the Tools folder inside the zip file. Now just copy the Amcap2 file to any place on your computer that you can remember and access. In our example we will be copying the file to the desktop for ease of access.
Double click the Amcap2 icon to open the program.
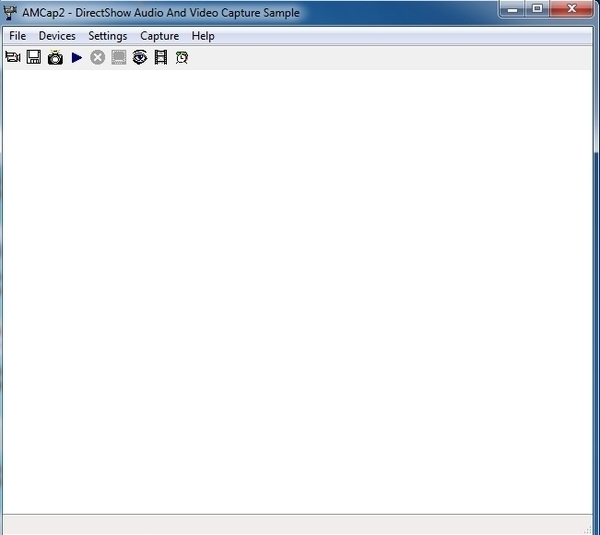
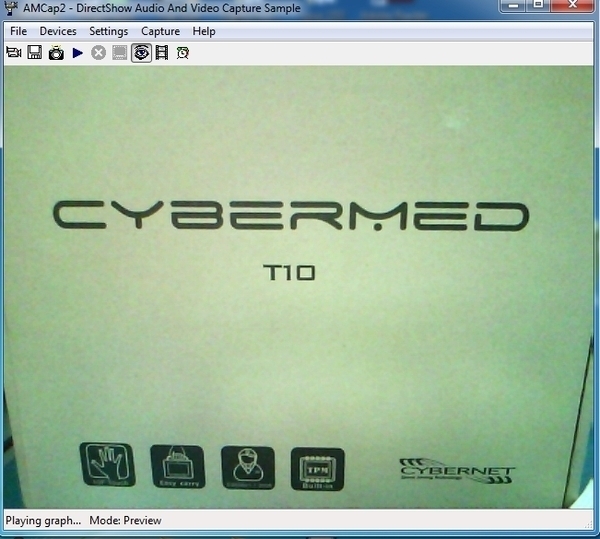
With program open you may be looking at a white screen like picture below.
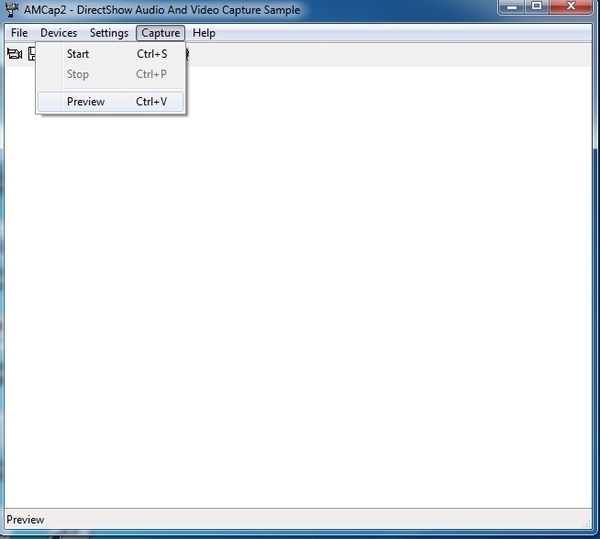
Now to get an image go to the Capture menu and select Preview.
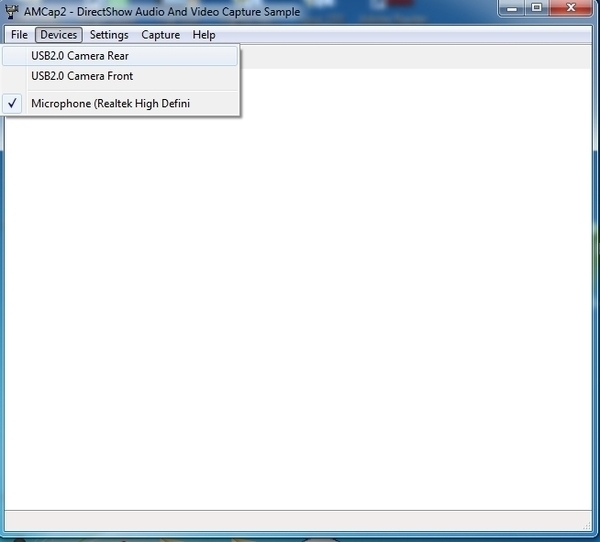
With Preview selected we now need to choose what camera to output from. In our example we will be using the rear camera.
You should now be seeing an image, in our example it is showing the image out of the rear camera of the T10 box.
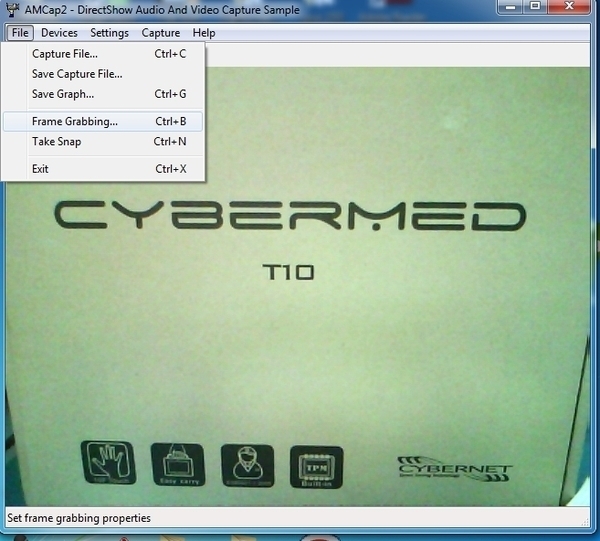
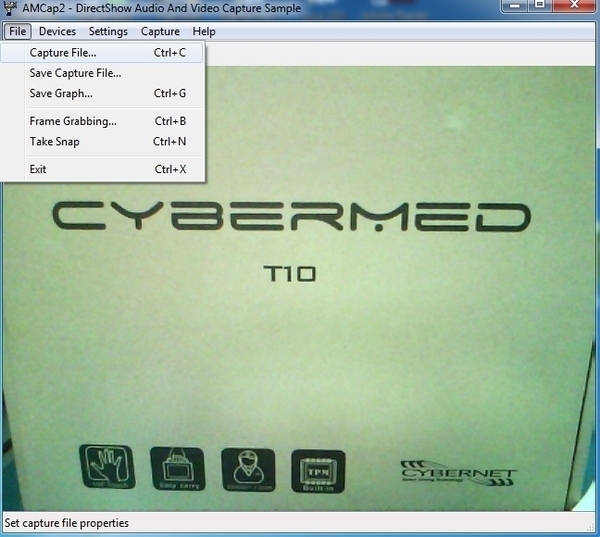
Now that you have a preview picture you can now start taking still pictures. First thing to do is set the save location you would like the files saved to along with the option of using a naming standard. Go to the File menu and then choose Frame Grabbing.
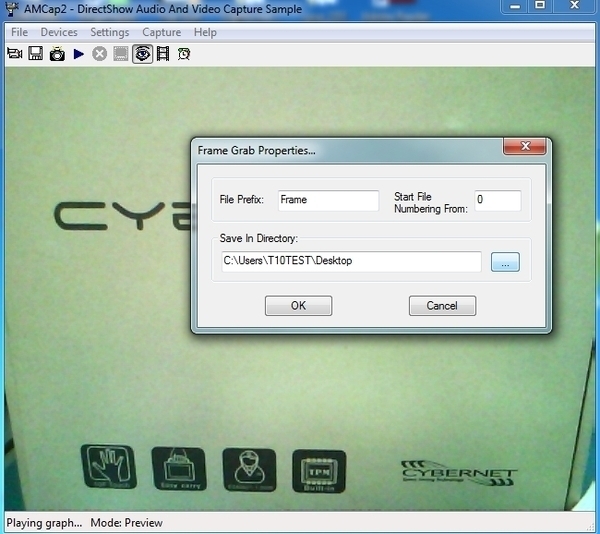
You can choose your file location by hitting the ... next to the location that says Save in Directory. The file naming standard is set in the File Prefix location.
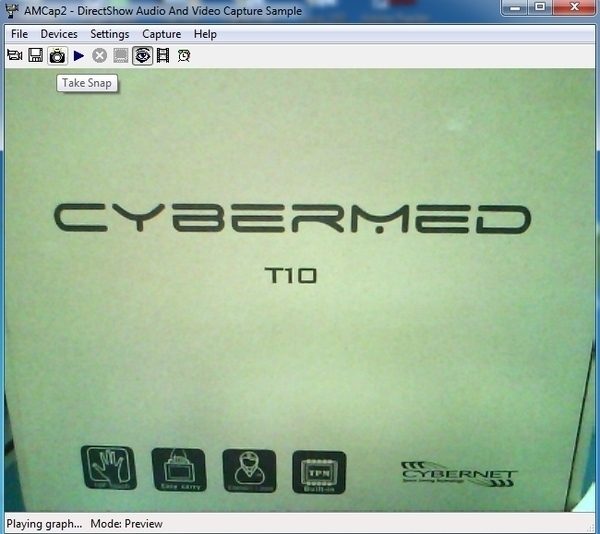
After hitting ok you are now ready to snap still photos by hitting the third icon that looks like a camera. When the cursor is hovered over the icon it will say Take Snap. You can also do this under the File menu.
Now that you can capture still photos lets work on setting up video. First we need to set the default save location by going to the File menu and choosing Capture file.
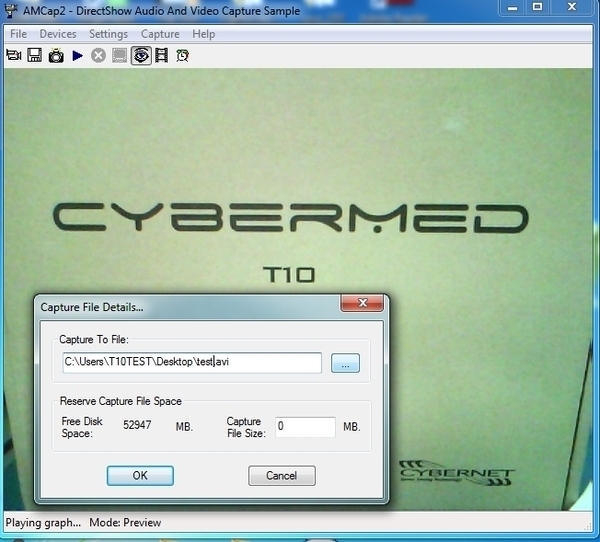
Here you can set the default save location by hitting the ... icon next to where it says Capture To File. You will need to name the file itself as it will save to it. In our example the file name is test.avi.
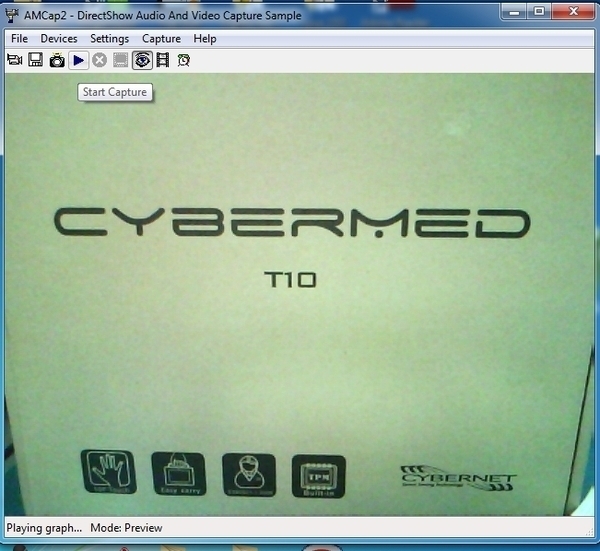
After hitting OK you are now ready to capture video. When ready to capture hit the play button from the tool bar or choose start capture from the Capture menu.
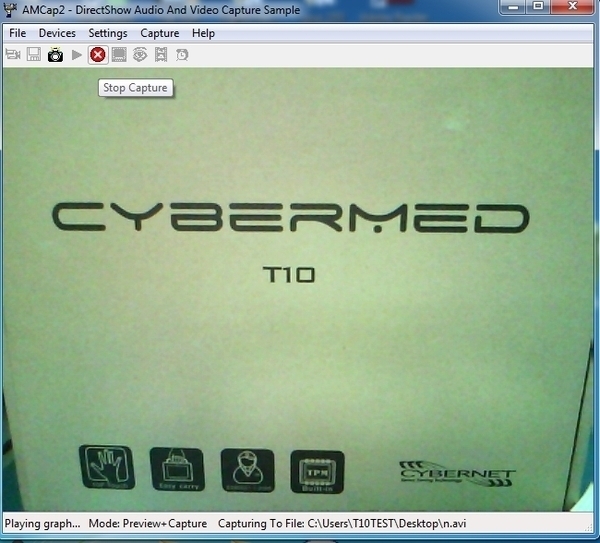
When you are ready to stop the capture hit the icon on the toolbar that has a red circle with a white X through it. This can also be selected through the Capture menu.
Your file is now saved to your default location and name of the file you selected. If you would like to save this file we recommend moving the file immediately or go to the File menu and choose Save Capture File and choose where you would like to save it to. Otherwise when you start a new capture it will overwrite the file that was created before. In our example test.avi is overwritten every time you tell it to capture but if you save the file to a different location manually or use the save capture file from the file menu then you won't lose the video capture.